

Operation Crusader in 1941 was a vital Allied offensive that lifted Tobruk’s siege, symbolizing Allied resilience. With British and Commonwealth forces, you’ll find that effective logistics played a significant role. The campaign overcame communication challenges, showcasing how coordinated efforts, like those of the 7th Armoured Division and 9th Australian Division, turned the North African momentum against the Axis. As you investigate, you’ll uncover the strategic decisions and impactful outcomes of this essential operation.
Strategic Importance of Tobruk
Although many battles took place in North Africa during World War II, Tobruk stood out for its strategic importance. Located on the eastern Libyan coast, Tobruk’s deep-water harbor was vital for logistical support and troop movements. This made it a key supply hub for British forces, facilitating reinforcements and critical materials for sustaining military operations.
During the siege of Tobruk, the city became a symbol of Allied resilience. Defended by the 9th Australian Division and Commonwealth troops, it was fortified with strong points, anti-tank ditches, and barbed wire. These defenses made it difficult for Axis forces to capture.
Control of Tobruk allowed the British Eighth Army to disrupt German supply lines, greatly impacting the North African campaign’s outcome. The USAAF’s role in the North African operations also contributed to the Allies’ strategic advantage, as their aircraft supported ground troops and disrupted enemy logistics.
Forces and Command Structures
In Operation Crusader, the British Eighth Army underwent significant reorganization, with Lieutenant-General Sir Alan Cunningham initially at the helm. You’ll find the 7th Armoured Division at the core of the British forces, serving as the primary mobile strike force. The command structure shifted when Major-General Neil Ritchie replaced Cunningham after setbacks.
On the Axis side, General Erwin Rommel commanded the formidable Deutsches Afrikakorps, leading the 15th and 21st Panzer Divisions adept at desert warfare. The 9th Australian Division, along with British and Commonwealth forces, played a vital role in defending Tobruk against Axis forces, which included Italian units.
Meanwhile, the German tactical intelligence unit FAK 621 provided essential insights, allowing Rommel to adapt effectively to battlefield changes.
Initial Assault and Surprise Attack
As Operation Crusader kicked off on November 18, 1941, the British Eighth Army set out with the element of surprise, aiming to outmaneuver Axis defenses and lift the siege of Tobruk.
The initial assault involved the 7th Armoured Division advancing undetected from Fort Maddalena to Gabr Saleh. However, coordination issues emerged, leading to setbacks at Bir Gubi and against the 21st Panzer Division, causing a temporary retreat.
A critical engagement unfolded at Sidi Rezegh, where British forces aimed to capture the airfield. This became essential for supporting operations, influencing the campaign’s dynamics.
Despite early successes and challenges, the initial assault at Sidi Rezegh set the stage for the Eighth Army’s continued efforts in the North African campaign.
Intelligence and Communications Challenges
The early stages of Operation Crusader not only tested the Eighth Army’s resolve but also highlighted significant intelligence and communication hurdles. They faced a tough battle as German unit FAK 621 capitalized on intelligence gains from British tactical codes. They intercepted communications, revealing British tank strengths and impacting Axis strategic decisions.
Unfortunately, their signaling procedures were ineffective, allowing Germans to eavesdrop and counter British operations effectively. On the flip side, British Army Enigma decrypts offered critical insights into Axis supply needs, exposing the logistical challenges both sides faced. However, they struggled with internal communication gaps, unaware of your tank units’ actual conditions and losses.
This lack of awareness hindered your decision-making and coordination, complicating the campaign’s general execution. Additionally, the deployment of radar technology revolutionized anti-aircraft defense, allowing for accurate detection of threats and impacting strategic decisions during the campaign.
Key Battles and Tactical Maneuvers
Although facing formidable challenges, the key battles of Operation Crusader showcased the resilience and tactical ingenuity of the Eighth Army.
At Sidi Rezegh, the 7th Armoured Brigade’s attempt to seize the airfield encountered fierce resistance from the 21st Panzer Division. Both sides suffered heavy tank losses, highlighting the intensity of armored confrontations. Tactical decisions, such as the order for the 7th Armoured Brigade to hold its ground, demonstrated the difficulties of battlefield awareness.
Meanwhile, the 22nd Armoured Brigade’s engagement with the Ariete Division inflicted significant tank losses on the Italians but at a costly price. Despite obstacles, the Eighth Army’s combined arms approach, integrating infantry and armored units, played a pivotal role in disrupting Axis plans and ultimately lifting Tobruk’s siege.
Axis Supply Struggles
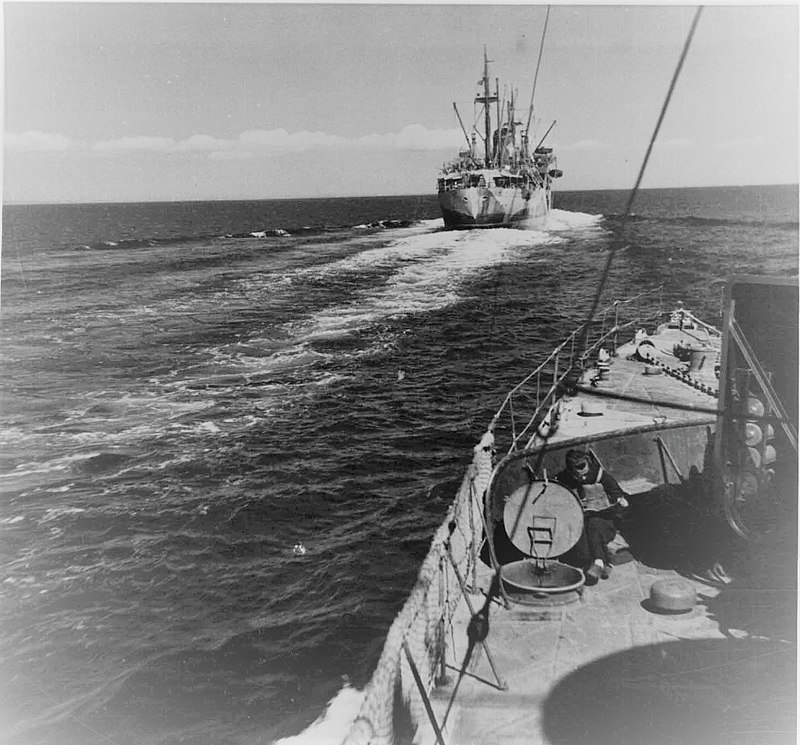
Facing relentless British offensives and persistent attacks on their supply routes, Axis forces in North Africa grappled with severe logistical challenges during Operation Crusader.
Maintaining effective supply lines was a Herculean task. Axis forces required 350 long tons daily just for a motorized division, demanding 1,170 lorries—a number that’s tough to sustain as battles raged.
By November 1941, British forces, aided by Malta’s strategic position, severely disrupted Axis supply lines, forcing a retreat to El Agheila. Logistical demands soared to 70,000 long tons monthly for seven divisions, straining resources.
Despite FAK 621’s intelligence capabilities, the supply struggles hindered Axis effectiveness, leading to strategic withdrawals and reshaping their plans during Operation Crusader.
Breakthrough and Relief of Tobruk
Initiated on November 18, 1941, Operation Crusader aimed to break the siege of Tobruk and change the course of the North African Campaign.
You’d see the 7th Armoured Division and the 9th Australian Division coordinating to capture key positions. Their breakthrough disrupted Axis forces’ supply lines, reaching Tobruk by November 27, 1941.
Despite initial setbacks, the operation succeeded due to a combined arms approach.
- Breakthrough Achieved: New Zealand forces played an essential role by breaking through to the resilient Tobruk garrison.
- Axis Forces’ Retreat: The siege’s end forced Axis forces to withdraw to the Gazala position.
- Momentum Shifted: The successful relief marked a significant shift in the Allies’ favor, altering the desert war’s momentum.
Command Decisions and Adjustments
As Operation Crusader unfolded, the relief of Tobruk signaled a shift in the Allies’ strategic approach, bringing focus to command decisions and adjustments.
Initially, the Eighth Army HQ didn’t realize the tank units’ dire state until November 23, delaying vital decisions. Despite setbacks, British forces holding their ground saw a change when General Auchinleck ordered a counterattack against Axis forces, demonstrating a newfound tactical aggression.
Major-General Ritchie’s appointment revitalized leadership, further bolstering British efforts. Clever command decisions, including deception plans, misled Axis forces, who faced supply challenges and mounting pressure.
This strategic maneuvering contributed to Axis retreats and significant tank losses, highlighting the Allies’ successful adjustments in shifting the desert war’s momentum in their favor.
Axis Retreat and Strategic Implications
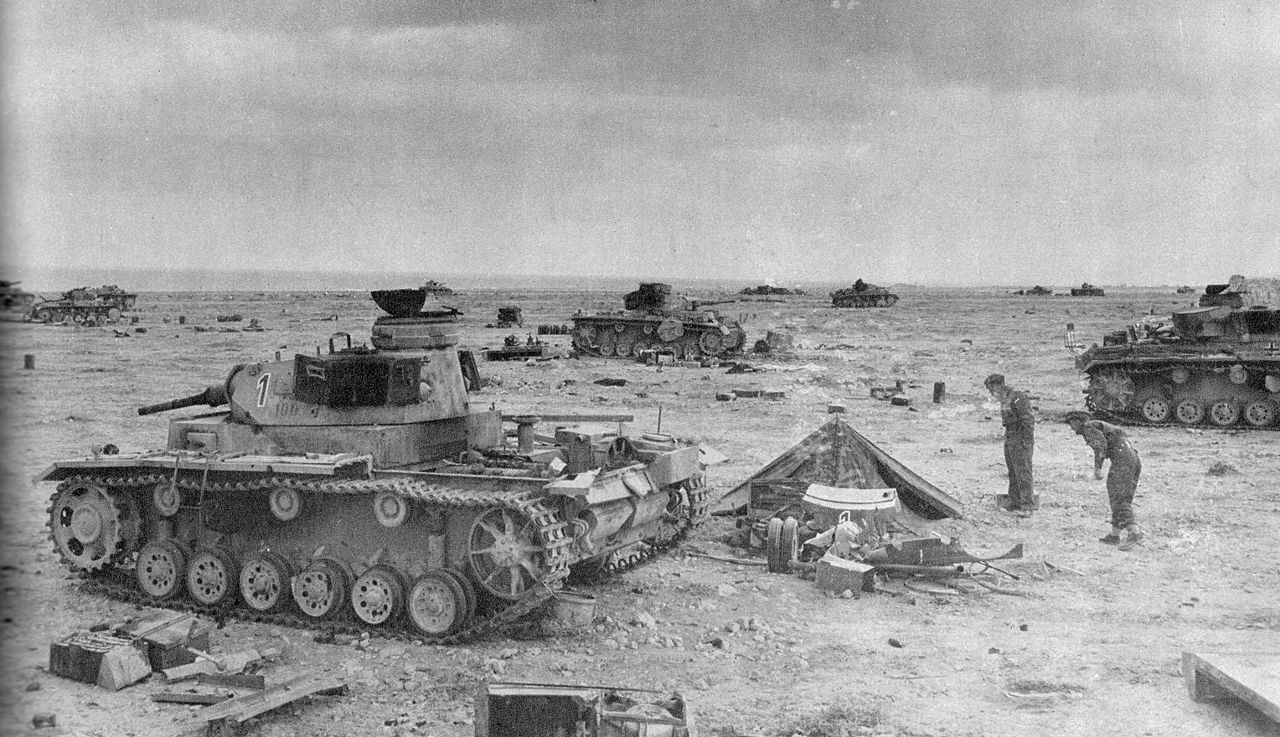
With the fall of Tobruk, November 27, 1941, marked a vital moment in the North African campaign, forcing General Erwin Rommel and his Afrika Korps to retreat.
The Axis faced logistical nightmares, needing 70,000 long tons of supplies monthly. This burden, coupled with the resolute British 7th Armoured Division, made the retreat inevitable. The Tobruk garrison’s relief shattered Axis confidence, leading to significant losses.
The strategic implications were clear:
- Momentum Shift: The Allies regained strategic positions, disrupting Axis supply lines.
- Regrouping: Despite retreating to Gazala by December 7, Rommel’s forces remained a formidable threat.
- Ongoing Conflict: While Tobruk was relieved, the Desert War’s challenges persisted, showcasing that the comprehensive conflict was far from over.
Legacy and Lessons of Operation Crusader
Operation Crusader left a lasting legacy in the North African campaign by emphasizing the crucial role of logistics and coordination.
You’ll see how vital supply lines were, as Axis forces struggled with shortages that forced their retreat from Tobruk.
The operation showcased how British armoured forces, despite earlier challenges, could adapt and improve. These forces learned from the battles around Sidi Rezegh, which exposed flaws in their tactics.
By addressing these weaknesses, they became more effective in future operations. The success of relieving Tobruk wasn’t just a tactical victory; it was a morale enhancer for the Allies.
It proved that with proper coordination and logistics, British and Commonwealth forces could shift momentum in the desert war against the Axis powers.